Why You Should Always Use a Cable Clamps
Disclaimer: The following instructions are intended for licensed electricians who have the necessary skills and experience to perform electrical work safely and correctly. This guide is only meant to refresh your memory and does not cover all the details or variations that may apply to your specific situation. This guide is not a substitute for proper training and certification, but rather a refresher of the basic steps and precautions involved in installing or repairing electrical systems. You must always follow the national and local electrical codes and regulations that govern your area. Failure to do so may result in serious injury, property damage, or legal consequences.
Installing Cable With or Without a Clamp
A cable clamp is a device that attaches the cable to the box and prevents it from being pulled out or damaged by friction. Cable clamps come in different types and sizes depending on the type of box and cable you are using. Some boxes have built-in clamps that you can simply tighten with a screwdriver. Others require you to install a separate clamp that fits into a knockout hole in the box. Cable clamps are required by the National Electrical Code (NEC) for safety reasons and to ensure proper electrical connections.
Why Use a Cable Clamp?
A cable clamp provides several benefits when installing electrical cables:
- It protects the cable from abrasion, cuts, or nicks that could expose the conductors and create a fire hazard or a shock hazard.
- It prevents strain on the cable and its connections, which could cause loose wires, arcing, overheating, or short circuits.
- It prevents accidental disconnection of the cable from the box, which could leave live wires exposed or damage other components in the circuit.
- It helps maintain proper grounding of metal boxes and conduit bodies by ensuring good contact between the cable armor and the box.
When Do You Need a Cable Clamp?
The NEC requires that you use a cable clamp whenever you install a cable into a metal box or conduit body [Sec. 314.17 (C)]. This applies to all types of cables, such as nonmetallic sheathed cable (NM), armored cable (AC), metal-clad cable (MC), mineral-insulated metal-sheathed cable (MI), etc. The NEC also requires that you use a cable clamp whenever you install NM cable into any type of box that does not have integral clamps [Sec. 334.30]. This means that if you use plastic boxes without built-in clamps, you must use an external clamp to secure the NM cable to the box.
There are some exceptions to these rules:
- You do not need a cable clamp if you install NM cable into plastic boxes with integral clamps [Sec. 314.17 (C) Exception No. 1].
- You do not need a cable clamp if you install MI or MC cables into listed fittings that provide adequate strain relief [Sec. 314.17 (C) Exception No. 2].
- You do not need a cable clamp if you install flexible cord into boxes with fittings designed for this purpose [Sec. 400.14].
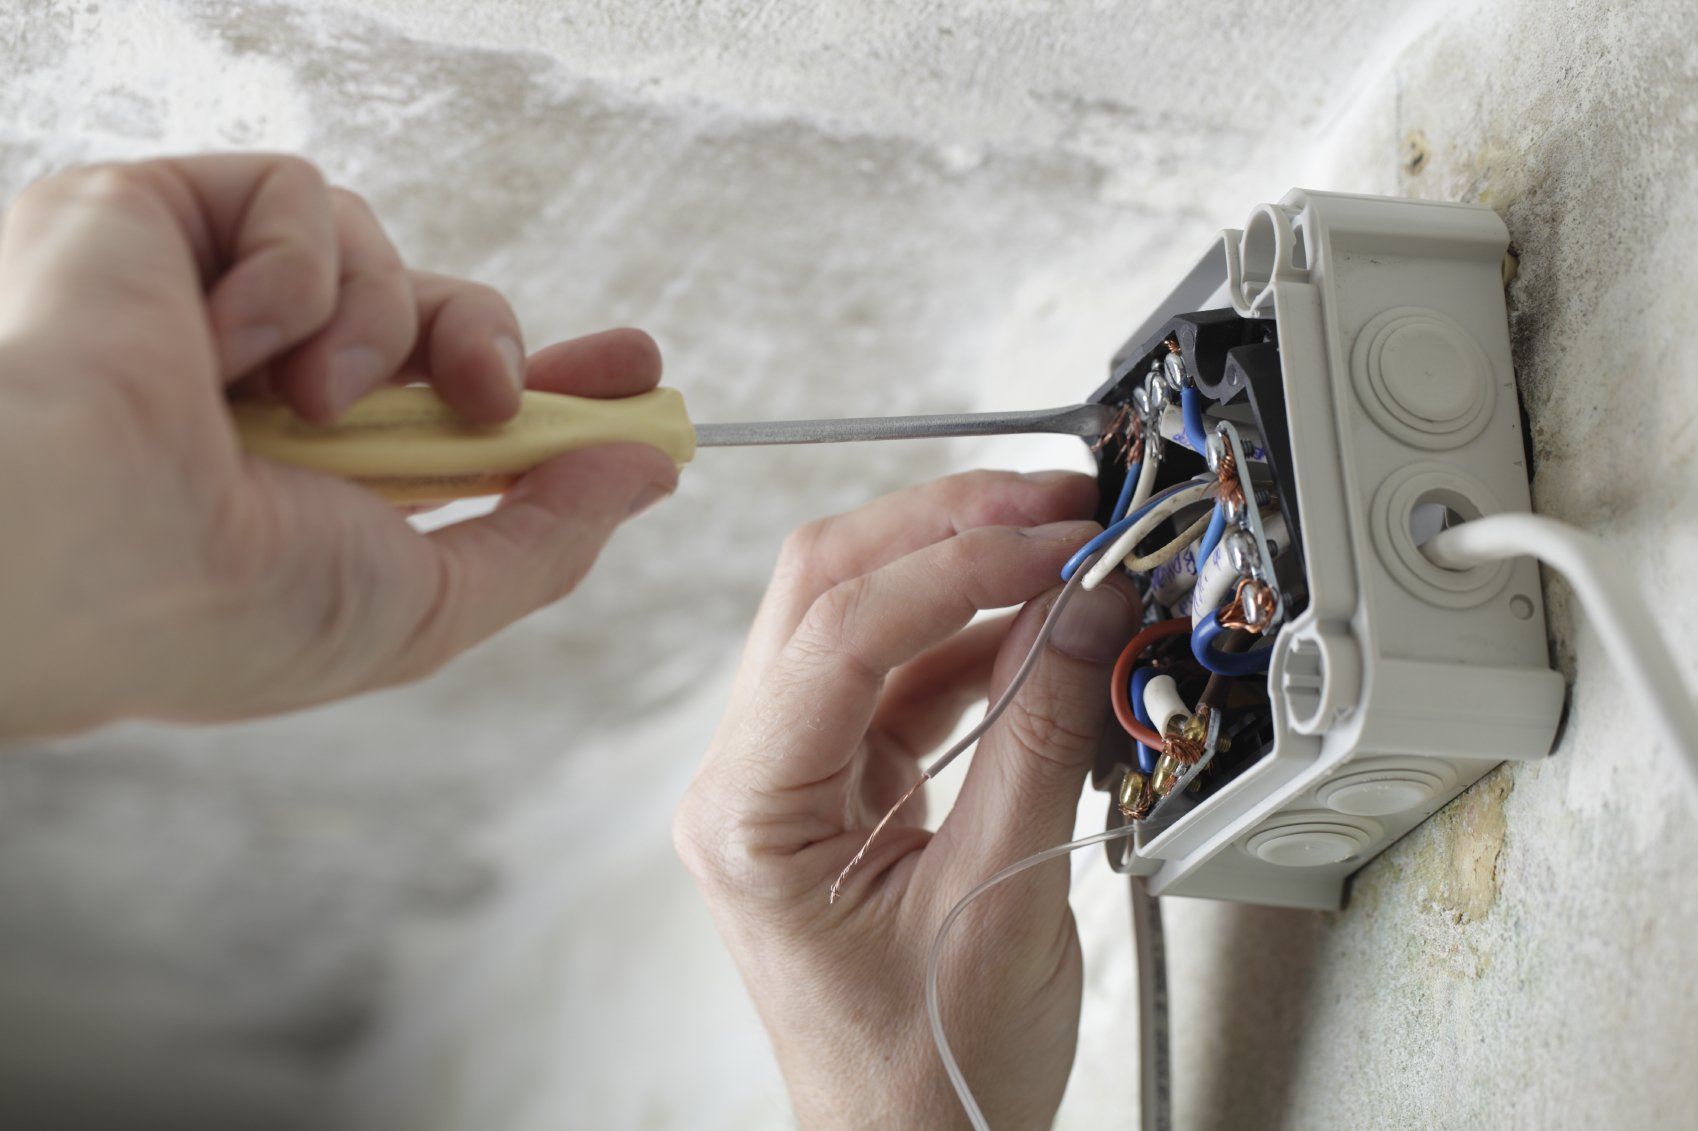
How Do You Install a Cable Clamp?
There are different types of cable clamps available for different applications and situations. Some common types are:
- Screw-in clamps: These are metal devices that screw into knockout holes in metal boxes and have one or two screws that tighten around the cables entering through them.
- Snap-in clamps: These are plastic devices that snap into knockout holes in plastic boxes and have spring-loaded tabs that grip around the cables entering through them.
- Squeeze clamps: These are metal devices that fit around knockout holes in metal boxes and have two halves that squeeze together around the cables entering through them.
- Locknut-and-bushing clamps: These are two-piece devices that consist of a locknut that screws onto threads on an opening in a metal box and a bushing that fits over the locknut and has one or more openings for cables entering through it.
To install any type of clamp, follow these steps:
- Turn off power to the circuit at the main panel and verify it is off using a voltage tester.
- Remove an appropriate knockout hole from the box using pliers or a screwdriver.
- Insert one end of each cable through an opening in the clamp so there is at least 1/4 inch of sheathing inside the box [Sec. 314.17 (B)].
- Attach the clamp to the box according to its instructions, making sure it is tight and secure.
- Strip off enough insulation from each conductor so they can be connected properly inside the box [Secs. 110.14 (B), 300.14].
- Connect the conductors according to their intended function, using wire nuts, screw terminals, or other approved means [Secs. 110.14 (A), 300.5].
- Fold the excess length of conductors neatly inside the box so they do not interfere with each other or with devices installed in the box [Secs. 300.11(A), 3126(A)].
- Install devices such as switches, receptacles, or luminaires according to their instructions, making sure they fit snugly against the wall surface [Secs.,11012(B), 40610(B)].